How to Cut Reclaimed Barn Wood: Hidden Nails, Clean Results
By Aisha Ndlovu • 24th Apr

Success with barn wood comes from three pillars: hidden nail detection before you cut, a methodical setup that prioritizes visibility and control, and dust capture that protects both your lungs and your neighbors. Cutting reclaimed wood safely with circular saw techniques means working slower and smarter, not faster. The difference between a dangerous, dusty struggle and a clean, predictable result isn't a single tool; it's a system built around respect for both the material and your body.
Why Reclaimed Wood Demands a Different Approach
Reclaimed barn wood isn't just old; it's load-bearing evidence of decades or centuries of use. Each board carries embedded surprises: hand-forged nails, metal brackets, sometimes concrete spatter or old screws. When your blade encounters a nail at full RPM, you don't get a clean kerf: you get a dangerous ricochet, a damaged blade tooth, and a humbling reminder that shortcuts on historic timber carry real cost. For proactive kickback prevention and PPE essentials, see our circular saw safety guide.
I learned this years ago in a garage, prepping materials while my son played nearby. One cut into a hidden fastener, and the dust cloud that erupted set off his cough and prompted a neighbor's complaint across the fence. That moment (choking air, a child's discomfort) crystallized something I'd been learning incrementally: dust control and safe setup aren't luxuries. They're foundational to both safety and a finished result you can be proud of. Comfort reduces errors; low strain yields cleaner lines.
FAQ: Essential Steps and Solutions
What Does De-nailing Actually Involve?
De-nailing is painstaking, which is precisely why it cannot be skipped. Every board must be hand-inspected visually for protruding or flush nails, staples, and metal brackets embedded in the grain. Run your hand across each surface; nails often sit just below the patina. Use a metal detector to locate hidden fasteners before you even approach a saw; this single step eliminates guesswork and protects your blade from catastrophic damage.
For exposed fasteners, a pry bar or pneumatic d-nailer removes them carefully, one by one. For flush nails, a nail punch drives them deeper or pops them clear. This phase can consume hours on a large beam, but it's your insurance policy against blade damage and kickback.
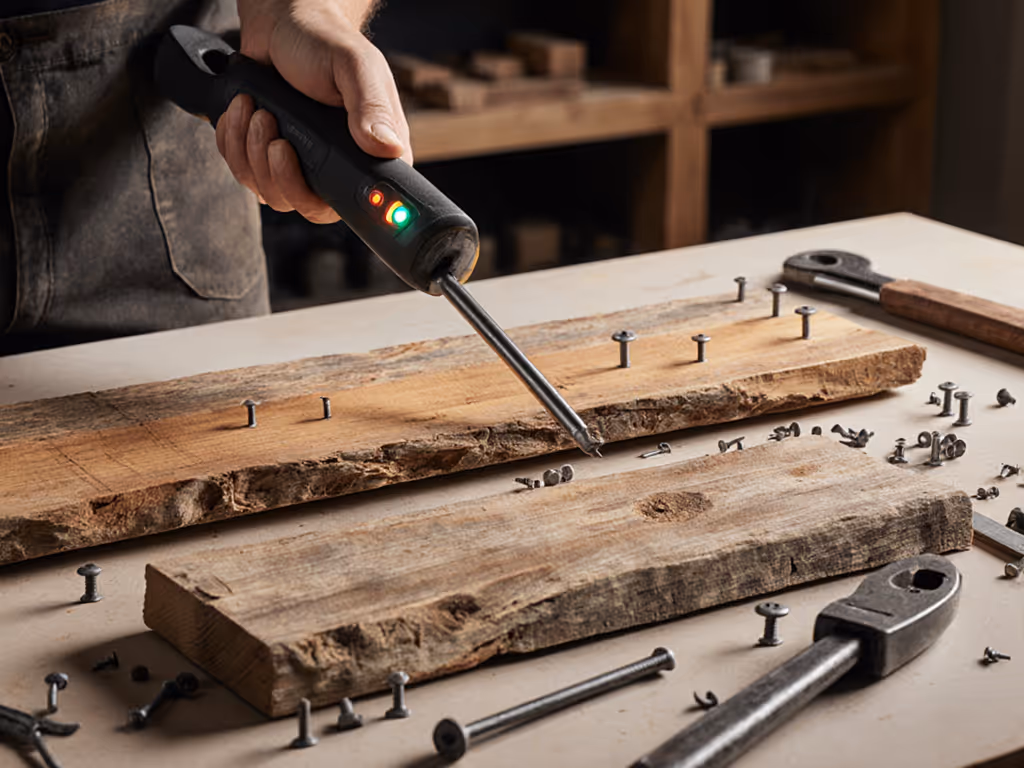
How Do You Detect Hidden Nails Safely?
Start with a visual inspection and a hand-sanding pass. Use coarse-grit paper (60-80 grit) across the grain; as you sand, metal beneath the surface will shimmer when exposed. Listen, too: a high-pitched ting or sudden change in sound indicates you've contacted metal. Mark these spots immediately with chalk.
Then deploy a metal detector (affordable models cost $30-$60). Scan the full board methodically and mark every fastener on a sketch or photograph. If you're working with large structural beams, consider a metal-detection service at a reclaimed wood processor (a modest investment that eliminates risk and keeps your blade sound).
What's the Right Blade Choice for Reclaimed Wood Safety?
Reclaimed wood is often denser and harder than modern lumber due to age and tight grain structure. Choose a carbide-tipped blade with 18-20 teeth for general cutting; more teeth produce a slower, smoother kerf and absorb shock better than aggressive coarser blades. For rough beams or framing cuts, a 24-tooth blade works. Avoid fine-toothed designs (30+ teeth) on reclaimed stock; they load with pitch and sawdust faster, overheat, and dull rapidly, frustrating your tempo and fouling the air.
Blade kerf thickness matters, too. A thin-kerf blade (3/32") wastes less material on vintage lumber and produces noticeably less dust per cut (a fact confirmed by observing motor draw and air quality during side-by-side tests). On a 900-watt saw, you'll feel the motor respond better to a thinner kerf when cutting dense, aged hardwood. To understand how tooth geometry and kerf influence reclaimed wood cuts, study our blade geometry guide.
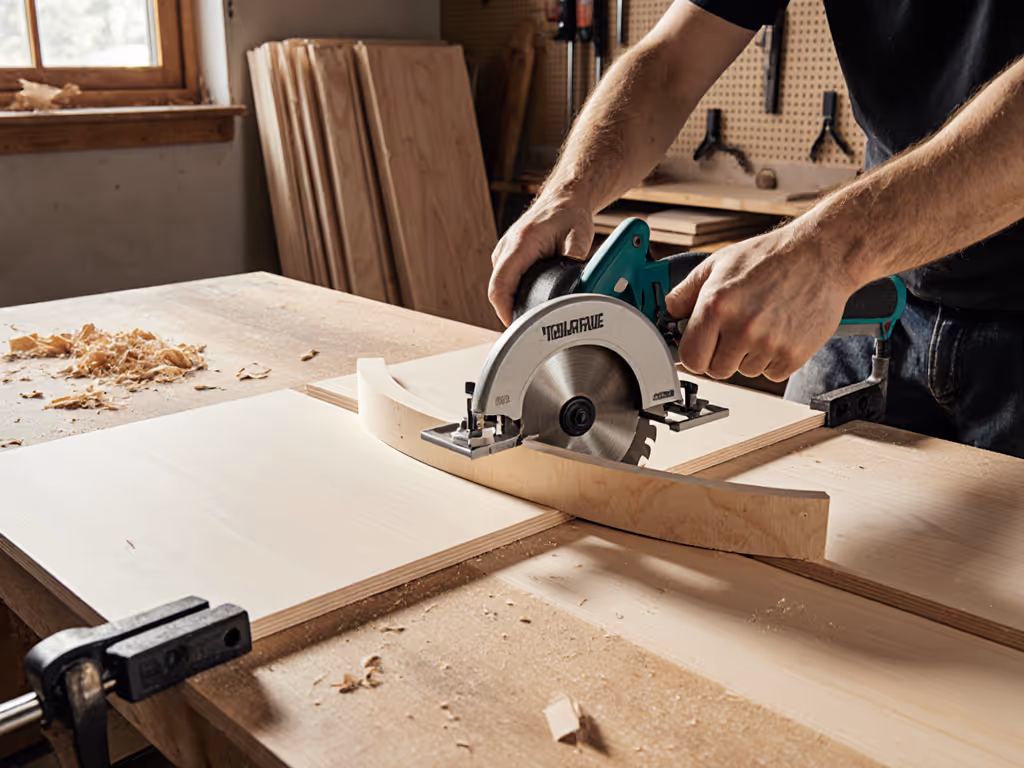
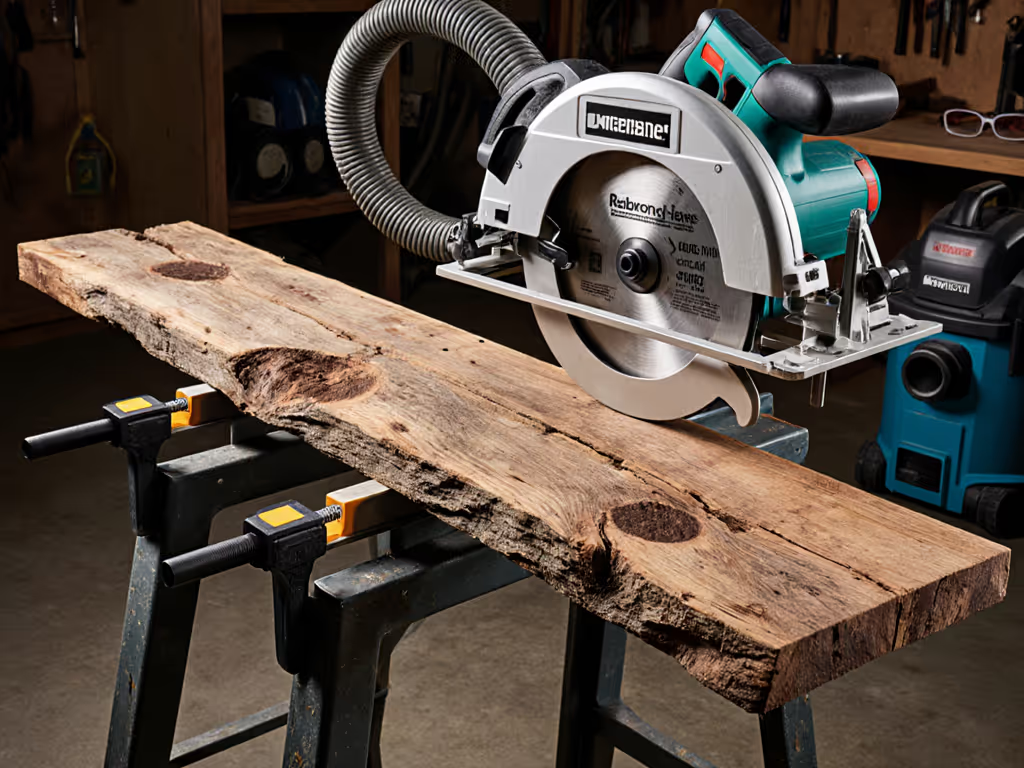
How Do You Set Up to Cut Safely and Cleanly?
Stabilize the workpiece first. Reclaimed beams and wide boards sag easily; clamp them to sawhorses or a work table with outfeed support extending at least as far as the board itself. This eliminates blade binding and pinching, the primary culprits behind kickback and splintering.
Position yourself for visibility: stand to one side, not directly behind the saw, and ensure the blade path is clear. Set blade depth precisely with our depth setting guide to reduce tear-out and limit kickback risk. Wear a respirator (not a dust mask, but a proper respirator rated for wood dust, P100 or N100 filter). If you're working indoors or in a confined space, attach a shop vac with HEPA filtration to the saw's dust port; modern vacs capture particles down to 0.3 microns, protecting immediate air quality and long-term lung health.
Feed the board through at a controlled pace. Slow is smooth, smooth is fast. Forcing the cut creates choking dust clouds, motor bogging, and ragged kerf edges. On dense barn wood, aim for 2-4 inches per second. Your wrist, elbow, and shoulder will respond with less fatigue, and the edge will be noticeably cleaner.
What About Cutting Curves or Complex Shapes from Historical Timber Preservation?
If you need a circular cut or complex profile, a panel saw with a pivot jig delivers mechanical control impossible by hand. Mark the centerpoint, secure a pivot rod through a pilot hole, and rotate the board slowly past a stationary blade. This method keeps hands clear, maintains consistent radius, and produces smooth arcs, invaluable for historic timber restoration where character and precision both matter.
How Do You Manage Dust When Working with Old Barn Wood?
Barn wood dust isn't mere annoyance; it's laden with decades of accumulated particles, animal residue, spores, and debris. Over time, inhalation of such dust degrades respiratory health more aggressively than new wood dust alone.
Connect a high-suction shop vac (2.5 HP minimum for a circular saw) directly to the saw's dust port. Position the intake away from your breathing zone, and empty the collection bag frequently; a full bag slashes suction. If you're working indoors, place the vac outside and run ducting in through a window, exhausting dust outdoors entirely. For the science behind capturing sub-100μm particles, read our circular saw dust physics explainer.
For neighbors' sake and your own health, commit to quieter cutting windows and controlled speeds. A 20-decibel reduction (achieved through a sharp blade, controlled feed rate, and basic sound dampening) is the difference between a complaint and a pleasant project.
Comfort and clean air are performance multipliers, not afterthoughts.
How Do You Preserve Historical Character While Preparing the Wood?
Reclaimed wood's value lies in its patina and aged grain structure. Avoid over-planing; remove only enough material to expose sound wood and hit your target thickness. Each planing pass should shed less than 1/8", so aim for 2-3 passes total rather than aggressive hogging that erases irreplaceable character.
After planing, finish with a hand sander or fine orbital sander, not aggressive belt sanders. Many experienced craftspeople skip the jointer entirely on highly figured reclaimed stock, preserving the rustic edge and visual history. For low-vibration, preservation-focused methods, see our historic restoration cutting guide.
Moving Forward: Build Your Barn Wood System
The difference between a dangerous, dusty struggle and a clean, predictable result isn't a single tool; it's a system: metal detection, hand de-nailing, the right blade, rigid workholding, dust capture, and a controlled feed rate. That combination protects both the material and you.
Start with one small beam or board. Practice metal detection and de-nailing until it feels routine. Feel the saw's resistance and tempo. Notice the dust. Adjust your speed and grip until the cut is smooth and the air stays clear. Notice how your body responds to less resistance and faster setup. That feedback loop (body-aware, observant, adaptive) is where competence lives.
The next time you approach old barn wood, you won't feel rushed or uncertain. You'll have a checklist, a clear setup, and the confidence that comes from a system designed around both safety and sound results.
Related Articles