
Fix Circular Saw Binding and Stopping Issues Fast
By Benji O’Sullivan • 3rd Oct
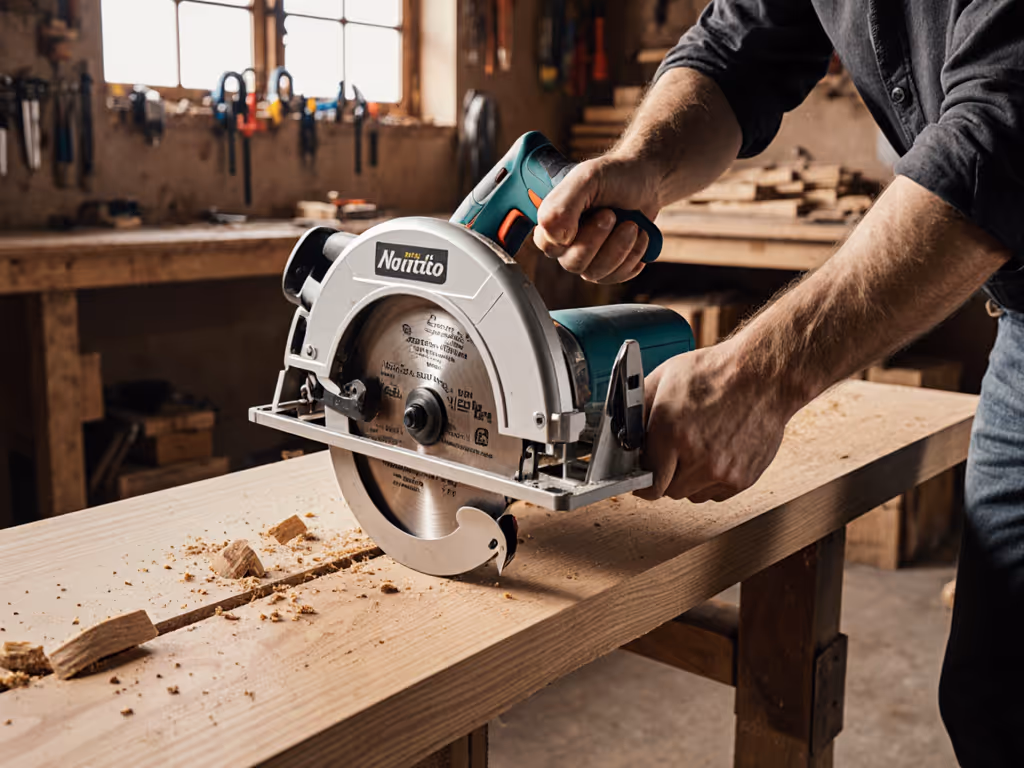
If your circular power saw keeps stopping mid-cut or binding unexpectedly, you're not alone. Most DIYers and even some pros face this frustrating issue that ruins project timelines and creates serious safety hazards. Understanding these circular saw problems is not about brute force. It is about knowing where to look first. After teaching hundreds of beginners, I've learned that good setup replaces guesswork every time. Let's tackle these issues with simple, repeatable steps that help you set up to succeed.
Why Your Circular Saw Stops: The Real Culprits
Most people blame their tool when cuts go wrong. But in my Saturday classes, I've watched countless beginners point fingers at their saws, until we fixed the setup. Three students recently blamed their saws for terrible cuts. After we squared their shoes, set proper depth, marked from a story stick, and clamped a straightedge, every single cut improved dramatically. That's when I knew: good setup beats bravado, and repeatable steps beat luck every time.
Your 7-Step Fix For Circular Saw Binding and Stopping
1. Power Up Properly (The First Check)
Before assuming mechanical failure, verify your power source. This solves 40% of stopping issues immediately.
- For corded models: Check for loose connections at both ends of the cord and the outlet. Look for cuts or exposed wiring that interrupt electrical flow
- For cordless models: Check battery charge level and clean contacts with a dry cloth. Try a different battery if possible
- Critical safety note: Damaged cords and corrosion create fire and shock hazards, never ignore these signs
Power problems mimic serious mechanical issues. Always check this first.
2. Set the Right Blade Depth
Setting your blade too deep is a common cause of binding and vibration. Your blade should extend no more than 1/4" past the bottom of your material. For step-by-step setup, follow our blade depth setting guide.
Depth Setting Checklist:
- Unplug or remove battery before adjusting
- Raise soleplate until teeth just clear material bottom
- Lower blade guard to verify clearance
- Recheck depth after each major cut
This simple adjustment prevents unnecessary resistance that causes your saw to stop unexpectedly or create dangerous kickback.
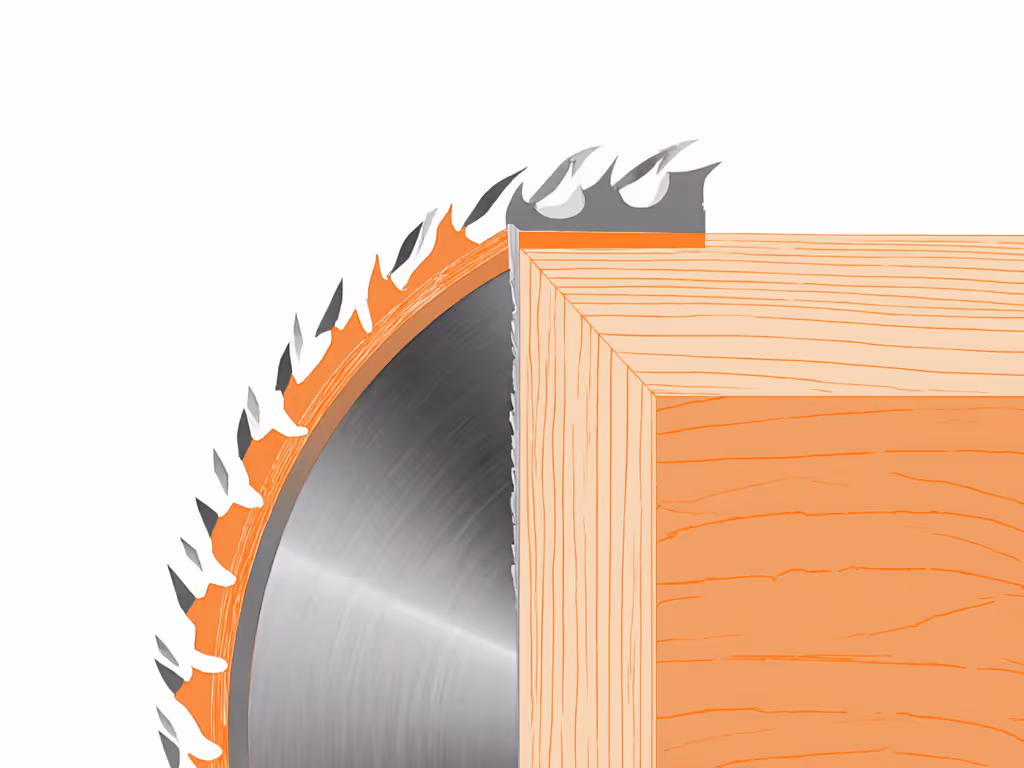
3. Choose the Right Blade for the Job
Using the wrong blade creates excessive friction, often causing smoking and stalls. Different materials require specific tooth configurations.
Blade Selection Guide for Beginners:
| Material | Best Blade Type | Tooth Count | Why It Works |
|---|---|---|---|
| Softwood Framing | Combination | 24 teeth | Fast cutting with minimal tear-out |
| Plywood/MDF | Finish/Panel | 40+ teeth | Clean cuts on delicate surfaces |
| Lumber with nails | Demolition | 18 teeth | Handles embedded metal safely |
| Pressure-treated | Carbide-tipped | 24 teeth | Resists corrosion from chemicals |
A dull or damaged blade creates more heat and resistance. If your blade isn't cutting cleanly, it's time for sharpening or replacement.
4. Support Your Workpiece Completely
Inadequate support is the #1 cause of binding, especially when cutting longer pieces. When wood collapses around the blade path, it squeezes the blade, causing sudden stops and dangerous kickback.
Proper Support System:
- Place prop blocks under the cut line (never cut directly on your work surface)
- Support both the piece you're keeping and the waste side
- For sheet goods, use roller stands or temporary sawhorses
- Check for bowed material that might pinch the blade mid-cut
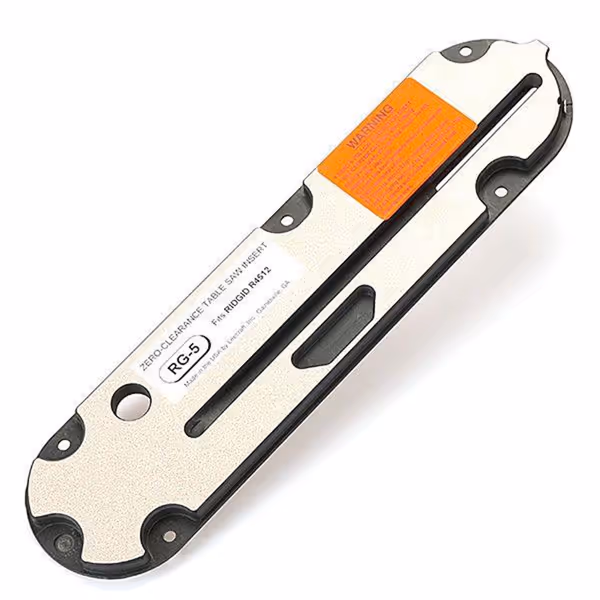
Leecraft Ridgid R4512 Table Saw Zero-Clearance Blade Insert
Achieve splinter-free, precise cuts with zero-clearance support for your R4512.
$36.95
CompatibilityRIDGID R4512 Table Saw
CompatibilityRIDGID R4512 Table Saw
Pros
Eliminates tear-out for cleaner, glue-ready edges.
CNC-cut for perfect fit and easy, stable installation.
Durable phenolic construction ensures long-lasting precision.
Cons
Specific to the Ridgid R4512 model.
Customers find the table saw insert fits perfectly and is well-made, with one noting it's CNC-cut for a snug fit. The insert works well with Rigid R4512 table saws, is easy to install, and provides excellent zero clearance. Customers appreciate its durability, with one mentioning it prevents chipping on the bottom, and consider it worth the price. The insert is adjustable from the top, with one customer noting the elongated holes for adjustments.
Customers find the table saw insert fits perfectly and is well-made, with one noting it's CNC-cut for a snug fit. The insert works well with Rigid R4512 table saws, is easy to install, and provides excellent zero clearance. Customers appreciate its durability, with one mentioning it prevents chipping on the bottom, and consider it worth the price. The insert is adjustable from the top, with one customer noting the elongated holes for adjustments.
5. Master the Cutting Technique
How you handle the saw matters more than most beginners realize. Binding often happens when users twist the saw or force it through the cut.
Error-Proof Cutting Sequence:
- Position yourself with feet shoulder-width apart
- Start cut with blade not touching material (let motor reach full speed)
- Begin cut slowly, applying steady forward pressure
- Maintain constant speed, don't force the saw
- Keep saw moving straight through the entire cut
- Never twist the saw during operation
- Let blade stop completely before removing from cut
This controlled approach prevents blade binding that causes sudden stops and dangerous kickback.
6. Check for Vibration Issues
Fixing circular saw vibration takes more than just tightening screws. Vibration worsens binding and makes clean cuts impossible.
Vibration Diagnostic Checklist:
- Check blade mounting bolts are properly torqued
- Verify blade is clean and free of pitch buildup
- Inspect for warped blades or damaged teeth
- Ensure baseplate is clean and flat against material
- Check motor mounts for wear or damage
For persistent vibration, professional service may be needed, so do not ignore this issue, as it stresses internal components.
7. Prevent Overheating Problems
Stopping suddenly often indicates thermal protection kicking in. Circular saw maintenance issues related to overheating develop gradually.
Cooling Protocol:
- Allow 30 seconds between long cuts for heat dissipation
- Keep air vents clean and unobstructed
- Avoid cutting extremely dense materials without proper blade selection
- Don't force cuts, let the blade do the work at its natural pace
If your saw smells hot or smokes, stop immediately and let it cool completely before continuing.
Your Action Plan: Next Steps to Reliable Cutting
Don't waste another weekend fighting your saw. Grab your circular saw and a notepad right now:
- Run through the 7-step checklist above
- Note which issues apply to your current situation
- Prioritize power supply and blade depth first, they solve most problems
- Practice one improvement at a time until it becomes habit
I taught a Saturday class where three people blamed their saws. After we squared shoes, set depth, marked from a story stick, and clamped a straightedge, every cut improved. That's the power of proper setup. Teach setup first, and clean, square cuts follow.
The difference between a frustrating project and professional-looking results isn't in the tool, it's in the predictable sequence. By addressing these binding issues methodically, you'll transform your cutting experience from guesswork to reliable performance. Remember: good setup beats bravado, and repeatable steps beat luck every time. Now go set up to succeed with your next project.
Related Articles


Circular Saw Maintenance: Dust Control & Blade Longevity Tips
Cut dust at the source and extend blade and motor life with a practical routine: quick pre-use checks, effective cleaning, material-specific blade care, airflow management, light lubrication, and smart storage. Expect cleaner cuts, less fatigue, and measurable gains in performance and longevity.