Sculpt with Confidence: Circular Saw Art Techniques
By Benji O’Sullivan • 13th Nov

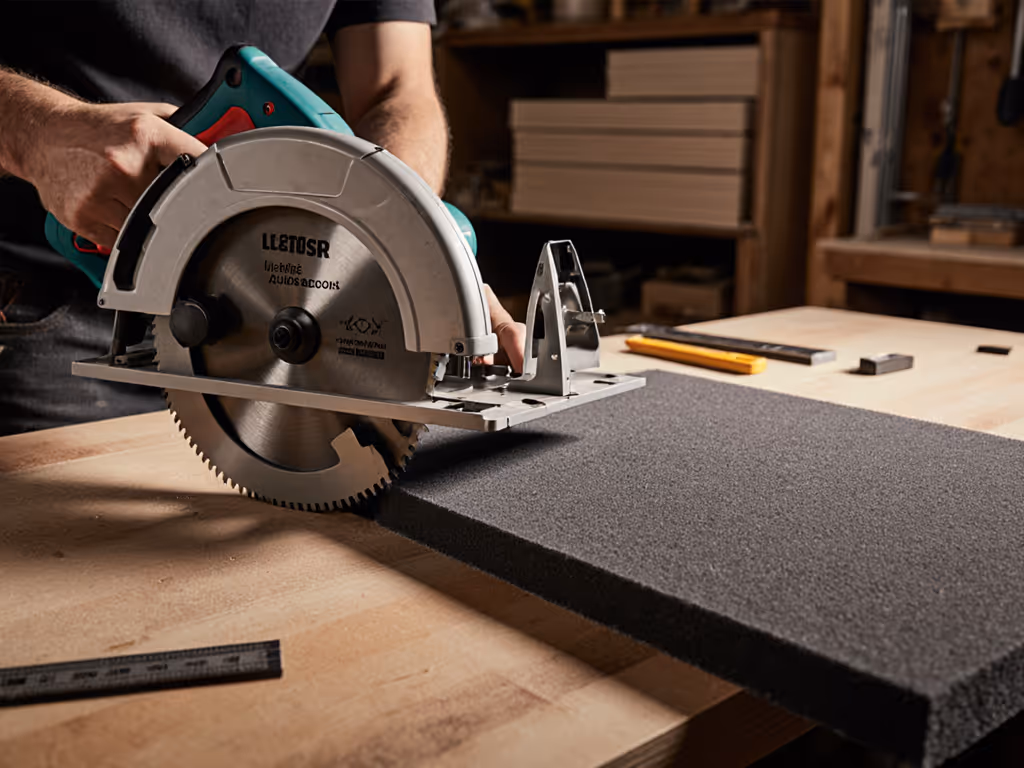
Forget everything you think you know about using a circular saw for sculpting. This isn't about aggressive, risky cuts. It's about harnessing precision to create stunning, gallery-worthy results with artistic circular saw techniques. I've watched too many beginners abandon woodworking art because early attempts yielded wobbly lines and splintered edges. The truth is simple: square starts at the setup. When you build predictable sequences into your workflow, clean lines and intentional curves follow naturally. Today, I'll show you how to transform your saw into a precision sculpting tool through deliberate setup and repeatable steps.
Why Artists Fear the Circular Saw (And Why They Shouldn't)
Most artists avoid circular saws for detailed work because they've experienced wandering cuts, tear-out, or that dreaded thunk when the blade binds. But here's what they miss: the problem isn't the tool, it's the sequence. On a recent Saturday workshop, three students blamed their saws for crooked cuts on a relief sculpture project. After we squared the shoe, set depth, marked from a story stick, and clamped a straightedge, every cut transformed. Their sculptures went from amateur to pro-looking in minutes. Good setup beats bravado, and repeatable steps beat luck every time.
The secret? Treating your saw like a drafting instrument, not a demolition tool. For creative woodworking that demands precision art cuts, you need systems, not heroics.
Your 4-Step Sculpting Setup Sequence
Follow this sequence every time, treating each step as non-negotiable. This is your foundation for artistic saw patterns:
Step 1: Anchor Your Canvas (The Baseplate Checklist)
Before touching the saw, stabilize your material:
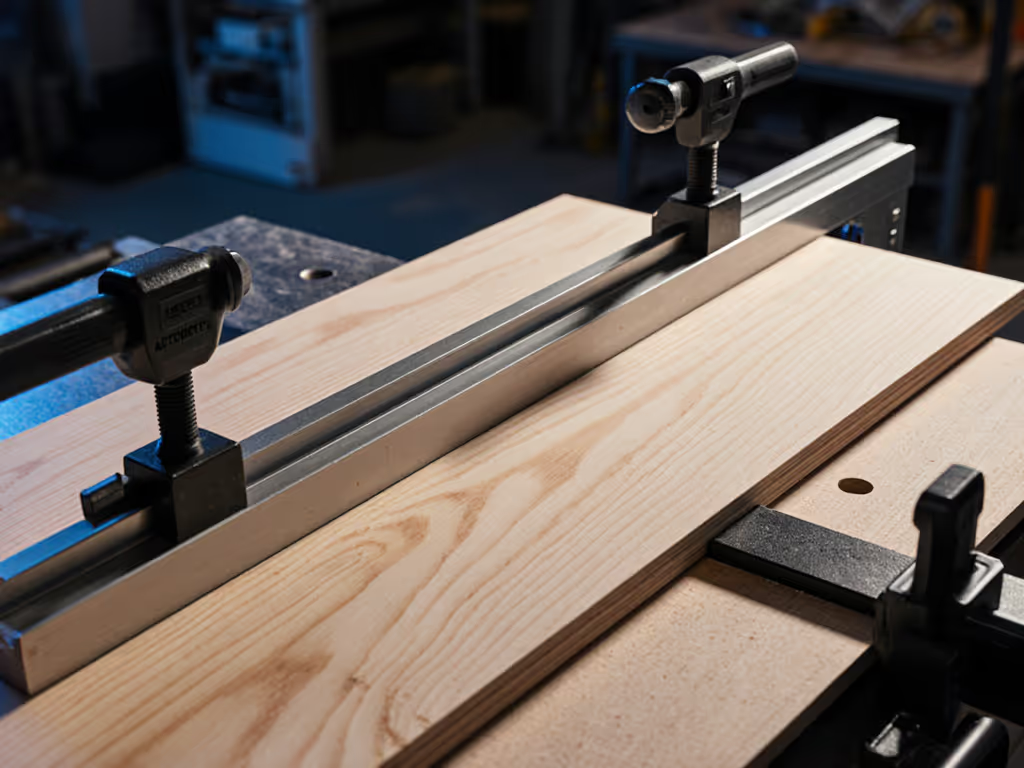
- Clamp an 8-foot factory-edge straightedge (melamine-coated plywood works best) to your workpiece on the waste side of your cut line. Never clamp over your art!
- Use sacrificial backing along the cut path: Tape painter's tape over the cut line, then place a 1/4" scrap plywood strip beneath it. This prevents tear-out on delicate veneers or plywood.
- Check for stability: Press down firmly on the straightedge at 12" intervals. If it flexes, add a middle clamp or support block. For a deeper dive into preventing splintering and ragged edges, see our tear-out prevention guide.
This step stops 80% of wandering cuts. Flimsy workholding ruins more art than dull blades.
Step 2: Calibrate the Saw (No Guesswork Allowed)
Your saw's factory settings lie. For exact blade depth and bevel angles, use our depth and bevel setting guide. Reset it for this specific cut:
- Set blade depth: Blade extends 1/4" below material thickness. Deeper invites deflection; shallower risks burning.
- Verify shoe squareness: Place a carpenter's square against the blade and shoe. Shim with business cards if needed (e.g., 1 card = ~0.003" adjustment).
- Choose the right blade: For intricate patterns, use a 40-tooth carbide blade. Fewer teeth = faster but rougher cuts; more teeth = cleaner but slower. I keep a dedicated 60-tooth blade for final art passes.
Step 3: Map Your Path Like a Draftsman
Freehand curves fail. For straight, repeatable cuts with DIY jigs and rails, see our circular saw guide setup. Use this marking system:
- Draw your cut line with a 0.5mm mechanical pencil (not a marker, it bleeds into wood grain).
- Add directional arrows where the curve tightens. These cue your feed speed: Slow near sharp turns, steady on straightaways.
Pro tip: For symmetrical shapes, fold paper templates over the workpiece and trace. Cut outside the line, then sand to perfection. Never cut directly on your final line, leave room for cleanup.
Step 4: Execute the Cut (With Zero Anxiety)
Now the magic happens. But only if you sequence these actions:
- Start the saw OFF the workpiece, and let the blade reach full speed.
- Rest the front shoe on the waste side of the straightedge, not the artwork.
- Ease the blade into the cut at a 15-degree angle (like opening a letter), then lower to 90 degrees.
- Feed at consistent speed: 2-3 inches per second for curves; 4-6 inches per second for straight lines.
Watch the back of the blade (not the front) to track alignment. If you hear grinding, you're pushing too fast. If it's quiet but burning, you're too slow. Let the saw do the work.

Bosch CCS180B 18V 6-1/2 In. Circular Saw
Lightweight, ergonomic saw for precise cuts and easy maneuvering.
$129
Weight6.6 lbs (tool only)
Weight6.6 lbs (tool only)
Pros
Lightweight and balanced for easy handling.
Blade-left design for clear cut line visibility.
Integrated dust blower keeps line clear.
Cons
Power output receives mixed user feedback.
Customers find this circular saw to be a great tool that works well and is convenient to use, particularly for DIY projects. The saw cuts well, with one customer noting it handles various tasks from ripping to precision work, and customers appreciate its lightweight design and good value. Power performance receives mixed feedback, with some praising its power while others find it inadequate. Build quality is also mixed, with some customers describing it as well-built while others say it's not the strongest in its class.
Customers find this circular saw to be a great tool that works well and is convenient to use, particularly for DIY projects. The saw cuts well, with one customer noting it handles various tasks from ripping to precision work, and customers appreciate its lightweight design and good value. Power performance receives mixed feedback, with some praising its power while others find it inadequate. Build quality is also mixed, with some customers describing it as well-built while others say it's not the strongest in its class.
Turning Precision Into Art: 3 Techniques That Wow
Now that your setup is dialed, try these circular saw art projects. Each builds on your foundational sequence:
Technique 1: Layered Relief Sculpting
"The Bosch CCS180B's dust blower kept my cut lines visible during a layered walnut wall sculpture (critical when aligning 1/8"-deep passes)."
- Make your first cut at minimum depth (1/8").
- Rotate the workpiece 90 degrees, clamp a new straightedge, and cut again.
- Repeat to create intersecting channels. Sand edges smooth for a 3D effect.
Technique 2: Fluid Curves Without a Jig
Forget buying a curve jig. Use this:
- Mark your curve with a flexible steel ruler.
- Clamp the straightedge tangent to the curve at entry/exit points only (not the whole line).
- Guide the saw along the curve using the heel of the shoe against your finger (wear cut-resistant gloves!).
Key: Let the blade's momentum carry you through bends. Stop-and-start creates jitters. Wondering when to switch tools for curvy work? See our circular saw vs jigsaw comparison.
Technique 3: Negative Space Weaving
Create "woven" effects by cutting alternating strips:
- Cut parallel lines 1/2" apart, stopping 1" from the edge.
- Rotate workpiece 90 degrees.
- Repeat cuts between previous lines.
- Peel out waste strips with a chisel - always chisel away from your pattern.
Your Next Sculpture Starts Today
The moment you treat your circular saw as a precision partner, not a brute-force tool, your art transforms. Remember that class where blame shifted from saws to setup? That's the pivot point. You don't need expensive gear or artistic bravado. Just a sequence that eliminates guesswork.
Your immediate action: Tomorrow, grab scrap plywood and a pencil. Practice Step 3's marking system on a simple spiral pattern. Then cut it using Steps 1-4. Measure your lines with a ruler afterward (that's your progress metric, not how "artistic" it looks).
Square starts at the setup. Master that, and your sculptures won't just look professional; they'll be professional. Now go make your first intentional cut.
Related Articles