Circular Saw Acoustic Panel Cutting: Clean Cuts Without Fraying
By Benji O’Sullivan • 9th Jan
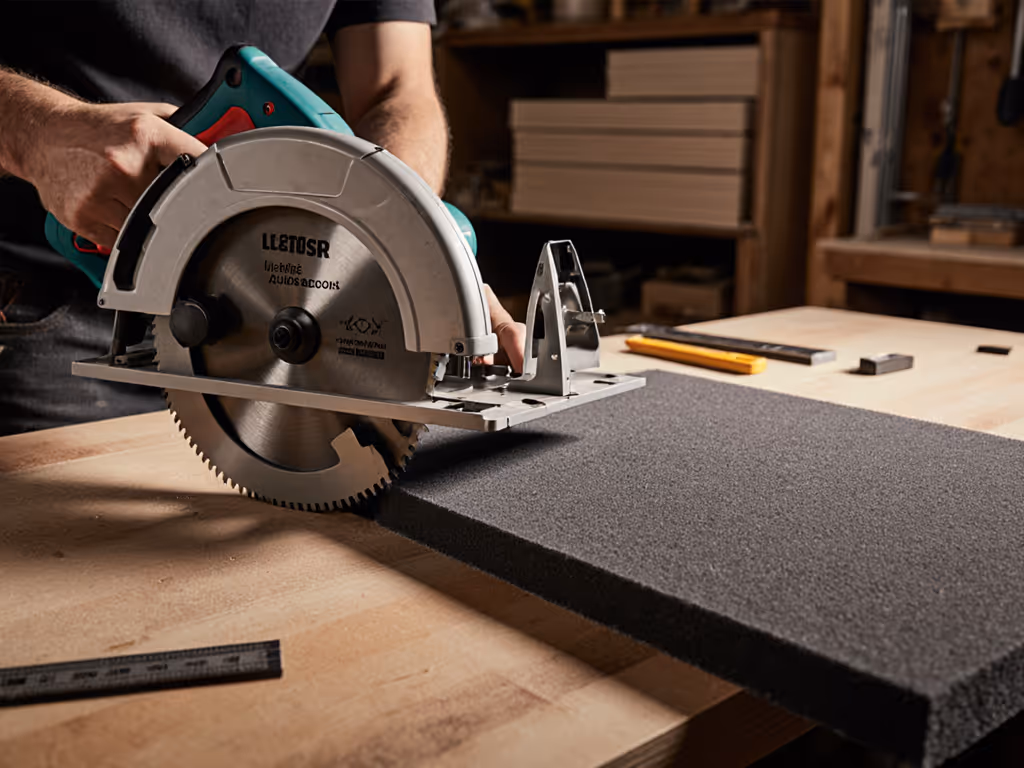
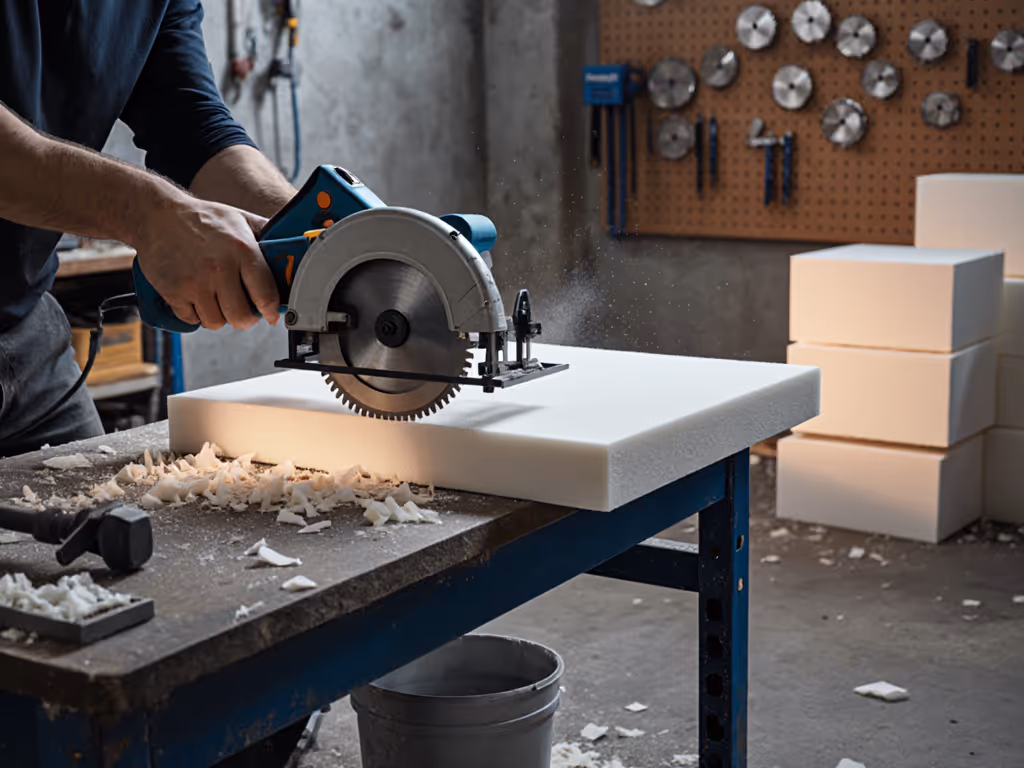
If you've ever ruined a $50 acoustic panel with a ragged, frayed edge while using a circular saw, you're not alone. Acoustic panel cutting circular saw techniques make all the difference between professional-looking results and frustrating waste. Getting clean cuts from soundproofing material saw techniques isn't about expensive gear, it's about predictable setup and sequence. Forget bravado; focus on repeatability. In my Saturday classes, three students blamed their saws until we fixed the real issue: unchecked bases, loose clamps, and rushed measuring. Watching clean cuts replace guesswork? That's why I teach setup first, and clean, square cuts follow.
Why Your Circular Saw Is Perfect for Acoustic Panels
Acoustic panels (like PET fiber or felt-covered MDF) are softer than wood but prone to fraying if mishandled. Circular saws cut faster than jigsaws for straight lines and avoid the heat buildup of hot knives that can melt synthetic fibers. But vibration and tooth count matter intensely here, and poor vibration control during acoustic cuts causes fibers to tear instead of slice cleanly. The good news: your existing saw can deliver studio-grade results with the right blade and setup. For more splinter-free techniques across materials, see our tear-out prevention guide.
Blade Selection Made Simple
Forget guessing tooth counts. For acoustic panels, use:
- Fine-tooth blades (60+ teeth): Non-negotiable for clean edges. Fewer teeth = rougher cuts.
- Reverse-cut blades (like Bosch T101BR): Push material down toward the panel, preventing top-surface chip-out.
- New blades only: Even slightly dull blades fray fibers. Treat blades like pencils, because they wear out.
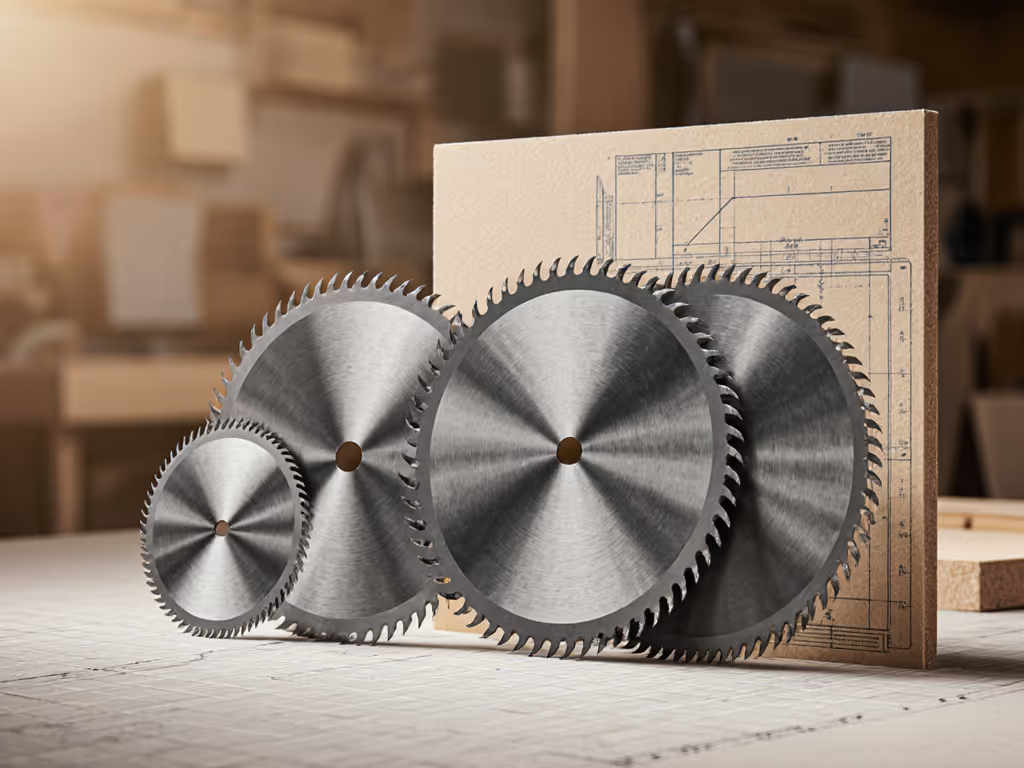
Starter tip: If your blade isn't labeled "reverse cut" or "fine tooth," don't use it. Most panel manufacturers confirm this in their guides.
The 5-Step Setup Sequence for Flawless Cuts
Predictability demands sequence. Skip one step, and tear-out follows. Do these in order:
Step 1: Measure Twice, Mark Once (The Right Way)
- Use a metal ruler (not plastic, which bends) and fine-tip marker.
- Mark both sides of the panel for alignment.
- For long cuts, add a story stick (a scrap board with your measurement marked).
Why this works: Panels shift during cutting. Double-sided marks let you check alignment mid-cut. I've seen pros skip this, then waste 20 minutes fixing crooked lines.
Step 2: Tape and Secure Like a Pro
- Apply painter's tape over your cut line on the face side.
- Clamp a straightedge guide (a level or aluminum T-square works) 1/4" from your line.
- Place panels on stable sawhorses with no overhang.
Critical detail: Tape prevents fibers from lifting at the edge. Straightedges beat freehand cutting every time (no wander, no bevel errors). For consistent results, follow our rip guide and jig setup to build or dial in your straightedge system. In facilities work, I've seen tape reduce edge cleanup by 70%.
Step 3: Blade and Depth Setup
- Install a new, fine-tooth blade.
- Set blade depth to 1/4" deeper than panel thickness. Deeper = more vibration. If you're unsure about blade depth and bevels, use our blade depth setting guide for step-by-step setup.
- Ensure baseplate is squared to the blade (use a combo square).
Error trap: Baseplate flex causes out-of-square cuts. Tighten all screws. If it wobbles, stop. You're fighting geometry, not material.
Step 4: The Cutting Motion
- Start the saw at full speed before touching the panel.
- Push slowly - half your normal wood speed. Let the blade clear chips.
- Keep the saw base fully flat on the panel. Tilting causes bevels.
Why slow = smooth: Forcing the saw compresses fibers instead of slicing them. Think "glide," not "push." If you hear screeching, you're moving too fast.
Step 5: Finish the Edge
- Lightly sand cut edges with 400-grit sandpaper in short strokes.
- Wipe away dust with a tack cloth before installation.
Pro note: Sanding isn't cheating. It's standard for noise reduction panel cutting. Even factory-cut panels get touched up.
3 Mistakes That Guarantee Fraying (And How to Avoid Them)
Drawing from years fixing student errors, these kill clean cuts every time:
- Cutting from the back side: Always cut face-up. Back-side cuts tear the visible surface.
- Skipping the straightedge: Freehand cuts wobble on soft panels. Clamp that guide!
- Ignoring vibration control: If your saw shakes, your cut frays. Rest it on a folded towel if horses vibrate.
Remember: Square starts at the setup. No blade compensates for a loose baseplate or rushed measuring.
Why This Works for Home Studios and Pro Sites
You're not cutting oak; you're slicing delicate fibers. Studio construction saw techniques demand gentler handling, but the sequence stays universal. Whether you're in a garage apartment or commercial job site, this method:
- Reduces material waste (panels cost $40-$100 each (don't guess)).
- Meets noise reduction panel cutting standards for clean edges.
- Eliminates dust clouds (cut slowly = less airborne fiber).
I've used this on Vicoustic slats, foam-core panels, and even curved shapes (with a jigsaw backup). Consistency beats luck because setup controls variables.
Your Action Plan
Today, grab one scrap panel and practice this sequence. Don't measure for your project - measure for confidence. Cut, inspect the edge, and adjust. If it frays:
- Check blade sharpness (step 3)
- Slow your feed rate (step 4)
- Re-tape the line (step 2)
When you can reproduce clean cuts three times in a row, you're ready for the real project. That's how you build skill (through repeatable steps, not one-off heroics).
Square starts at the setup. Go make it stick.
Related Articles